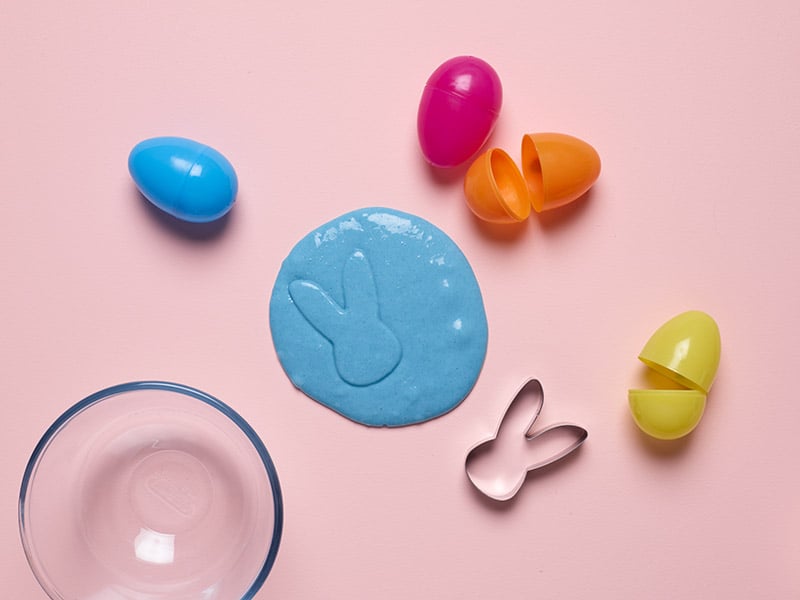
Making slime is all the rage - and this fun craft idea is a great way to give your goo an Easter theme. Use any colour you like, and experiment with shapes using Easter cutters - bunnies, chicks and egg shapes will work well.

Please conduct under adult supervision

How To Make Your Easter Slime Eggs


What you will need

- 1 cup PVA glue

- 1 tsp of Baking Soda

- Food colouring and glitter

- 1 tablespoon of eye wash solution (that contains Boric Acid)

- Mixing Bowl and spoon

- Cookie shape cutters

- Fillable Easter egg containers


Getting started

1 - Mix the PVA with the Baking Soda.

2 - Add 2 or 3 drops of food colouring and mix further.

3 - Keep stirring and mixing until the glue has changed colour completely.


Next steps

4 - Now add the glitter - this can be any colour. Mix this in further.

5 - Now add the eye solution and keep stirring. The mixture will become harder to stir and start to     come away from the sides of the bowl.

6 - Take out the mixture and start to knead it between your hands. If it is still very sticky, add a small amount of eye solution again. Keep kneading and adding tiny amounts more if still very sticky.


And finally...

7 - You will know the slime is ready when it no longer sticks to your hands and only sticks to itself. 

8 - You can store your slime in your eggs and it will stay slimy for up to a month.


Alternative Slime recipe (Fluffy option)

Materials needed:

  • Mixing bowl and spoon
  • 1 cup of shampoo
  • Half a can of Shaving foam
  • Salt
  • Food colouring

Instructions:

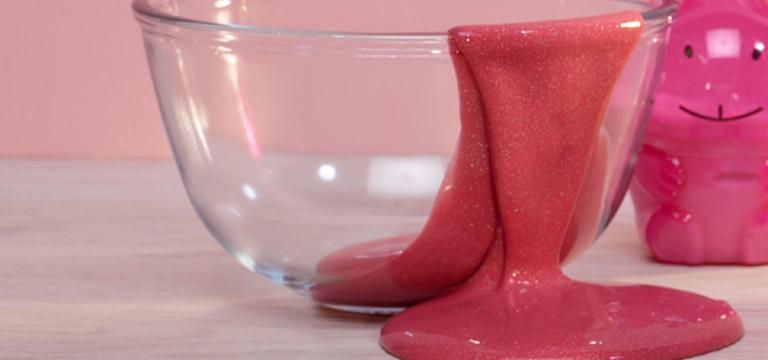
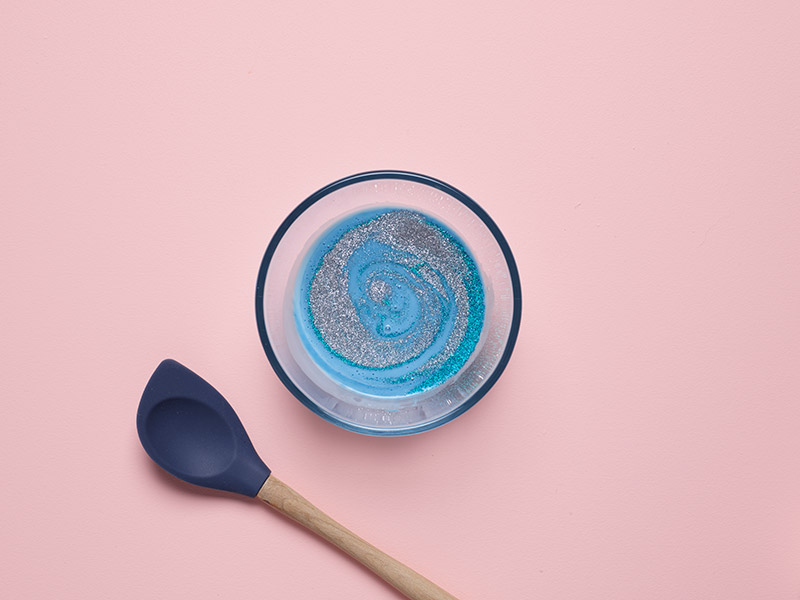
  1. Mix the shampoo and shaving foam together, using a 1:1 ratio.
  2. Add two tablespoons of salt and continue to mix.
  3. Add 2 or 3 drops of food colouring and mix further.
  4. Keep mixing for up to 15 minutes. Add more salt if needed, to make the mixture smooth in texture.
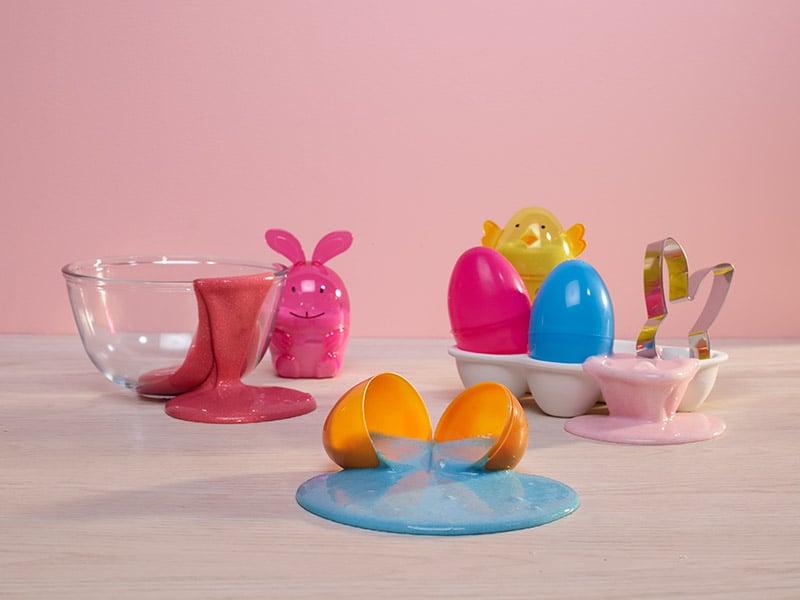
  5. Store the mixture in the freezer overnight.
  6. Scoop out the frozen mixture with a spoon.