Here's a sackful of homemade Christmas decoration ideas to help you have even more fun this festive season. Making some DIY decorations is a magical way to get the children even more excited about the build up to the big day, and these cute little crafts are easy to master if you want to add a more personal touch to your tree and table.
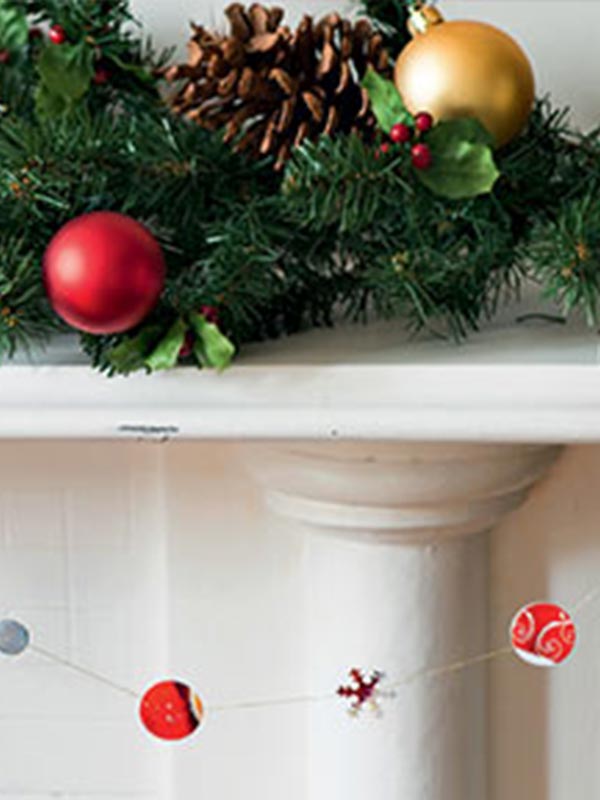
Homemade Christmas Card Garland
This easy-to-make garland is a great way to use up last year’s Christmas cards.
You'll need:
How to make:
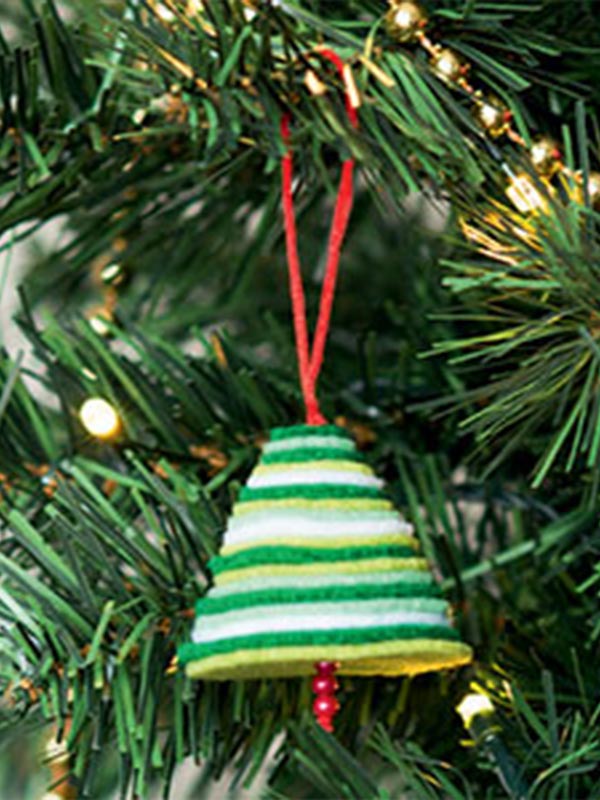
Homemade Festive Felt Tree
These trees look sweet hung on a tree, or you can make them larger as a table decoration.
You'll need:
How to make:
Safety first: If the kids are making these decorations, help them with the cutting out and don't leave them unsupervised.
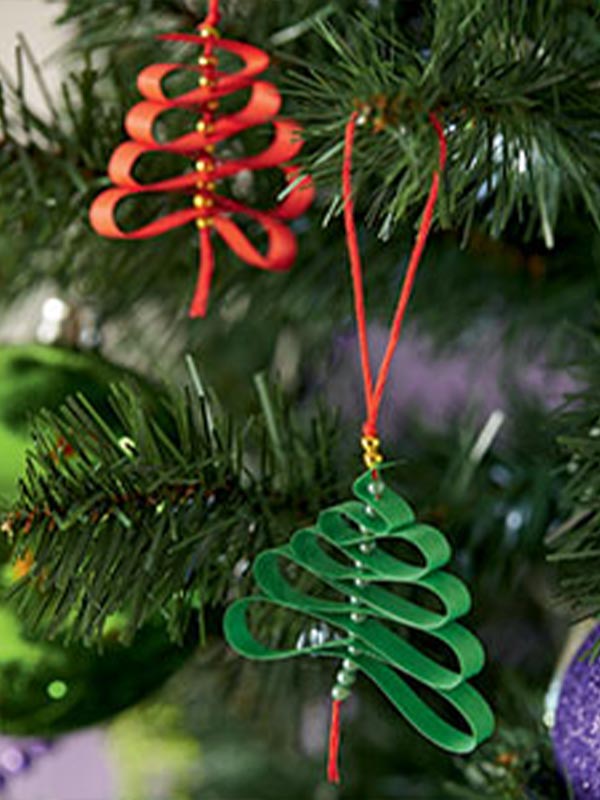
Paper Trees
This delicate tree decoration stands out from the crowd and is so easy to make.
You'll need:
How to make:
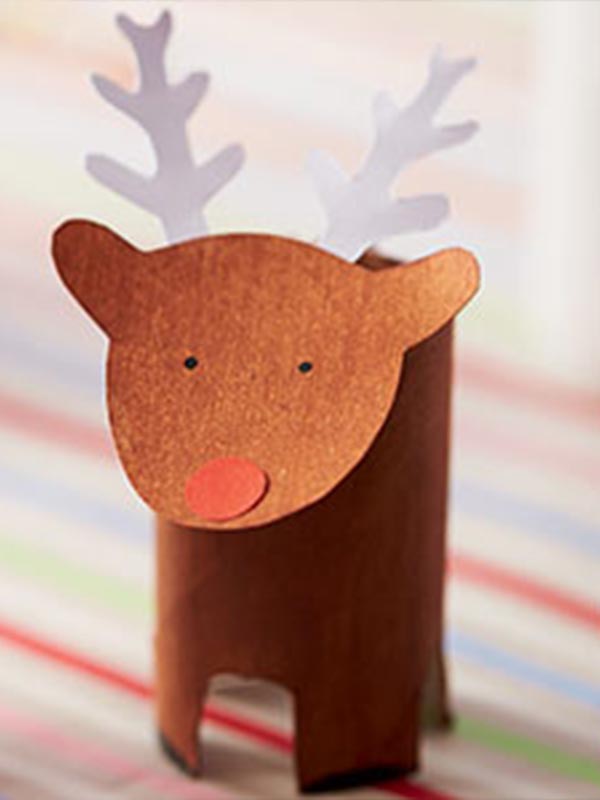
Reindeer Characters
These little Christmas cutiesare fun dotted around the house or as decorations on the dinner table.
You'll need:
How to make:
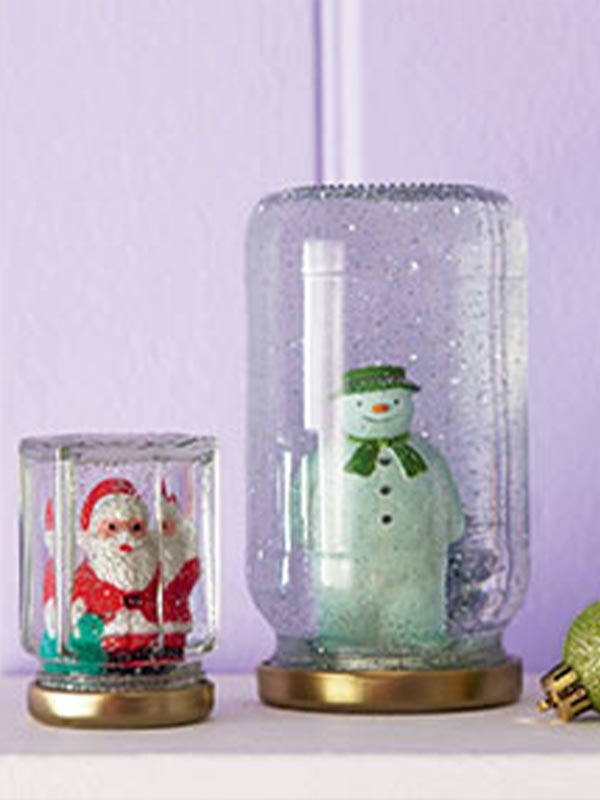
DIY Snow Globes
Make your own magical ornament. Kids will need some adult help with this one.
You'll need:
How to make:

Paper Pinwheels
These paper pinwheels will add an exciting twist to your tree this year.
You'll need:
How to make:

Bow Table Names
Add a personal touch to the Christmas table with these fun festive place names.
You'll need:
How to make: