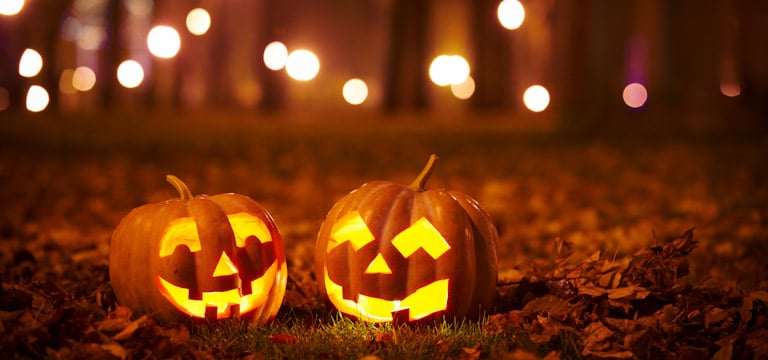
Win the battle of the pumpkins this Halloween. Get your craft on and check out our pumpkin carving inspo this spooky season. Take a sneaky peek at our top tips and carving ideas below.
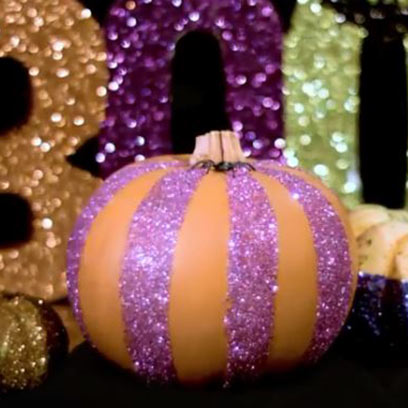
Glitter-ball Pumpkin
Get your glitter on with the kids this Halloween and make a simple, sparkly decoration or two for the doorstep. We've used Halloween-purple for ours, but you can mix things up and sprinkle different combinations for yours.

'Starry Night'
The pumpkin envy will be real with our 'Starry Night' design. Use your favourite Halloween cookie cutters too for added effect - it's a simple way to get the kids involved in decorating without them having to carve.

'Crying Crayons'
This one needs a little help from the adults when melting the crayons, but the kids get to do the crafty part by sticking them onto your pumpkin and creating the rainbow pattern. The more colourful the better, and you can create different looks like black and red for a dracula theme...or lots of different greens for a zombie centrepiece.
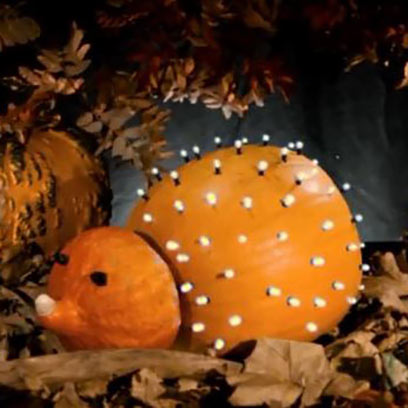
Hedgekinhog
A cute-yet-creepy idea for Halloween craft time with the kids that will light up your table or doorstep. Use LED fairy lights to make it a flame-free decoration this Halloween.
Pumpkin Carving Tips
1. Choose a pumpkin with a good stem
A thick stem means a heavy pumpkin, which is better for carving.
2. Don't be scared of a freakishly-shaped pumpkin
For something extra scary, try a huge Rambo pumpkin or large Ghost/Orange pumpkin - or even one of our Wonky pumpkins. If your little monsters want to draw on faces with marker pens – try a small Gourd.
3. Pick the right tools
Get the kids to draw a design with marker pen, buy a reliable pumpkin carving kit or use a range of kitchen utensils – such as a knife (under adult supervision at all times of course), cocktail sticks and an ice cream scoop.
4. Use a terrifying template
The easiest way to carve a masterpiece is to download a template which can then be pinned or taped to the fruit. We’ve dusted the cobwebs off our own pumpkin carving ideas, so you can choose a fun pumpkin template here.
5. Time it right
Carve your pumpkin with the kids on the day you want to display it – they normally begin to collapse and start oozing unpleasantness within 48 hours.
6. Lance the lid
Draw a circle for a lid, 5cm from the stem. Push your carving tool through the skin and start drawing the knife back and forth in a sawing motion, cutting at a slight angle.
7. Spill out the gory guts
Gouge out the pumpkin’s guts using an ice cream or pumpkin scoop or large spoon. Scrape the innards clean so that light will shine through. Don’t throw it all away though - dig out your cauldron and make a warming pumpkin soup for Halloween supper instead.
8. Prepare the pumpkin
Using a template, prick your design onto the pumpkin with a cocktail stick, then dab talcum powder over it to make the design stand out. If you’re a Pumpkin Picasso, just use a marker pen freehand.
9. Carve carefully
Cut out your kids' designs along the marker pen lines/cocktail stick pricks using a pumpkin carver, drawing it back and forth (as above, under adult supervision).
10. Use an LED light
Don’t use a naked flame, which can be a fire hazard and should never be left unattended. Instead, pop an LED tea light into your pumpkin.